Saturday, May 31, 2014

Plumbing and Sewage and Pipes, Oh MY!!!!!


The house was full of old pipes. Whenever new work was done, they left the old pipes in and put new ones next to them. Gradually we are sorting out the plumbing and removing all redundant pipes, taps, stop cocks etc. Its a bit like untangling yarn.


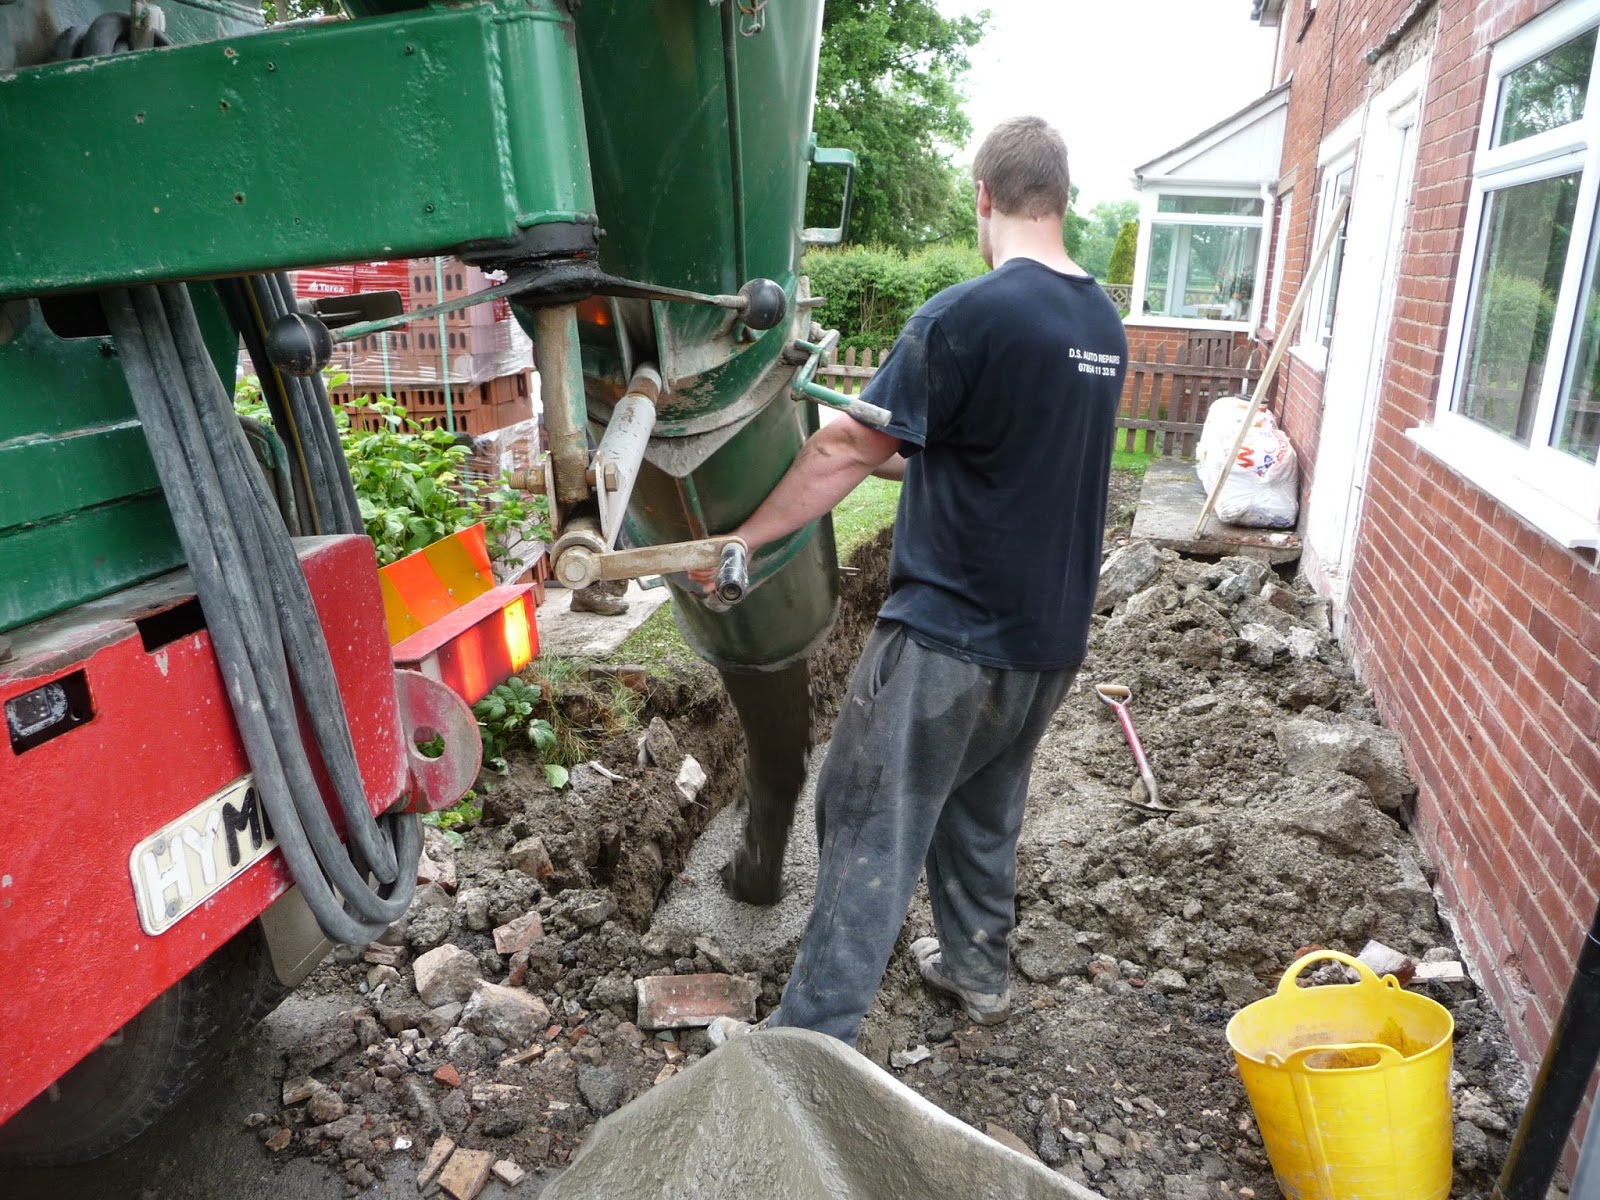
When the builders dug the foundation trench in the back, they found the old sewage pipe to the septic tank was cracked and had a small leak. We now have a lovely new sewage pipe. Oh Joy!!!!


This was the water to the outhouse. It was pretty dodgy and leaked


It came from pipes under the kitchen sink, as you can see. The stop cocks didnt work.


so Richard set about sorting them out. First he used compression joints and capped the old pipes off. We can tidy it up more on the inside when we remodel the kitchen.


He cut off and pulled out the now redundant and disconnected old pipes.


and now we have a tidy outside wall, with no leaks to drop on the concrete when they pour it next week.

Friday, May 30, 2014

Working on the Porch


Now you see it


Now you dont!!!!


preparing the foundations and new drain pipe channel for the gutters.


pouring the concrete


foundations done : )


setting the levels for the base


The base is now ready for the insulation and interior concrete. The building inspector will come on Monday to make sure all is well, and then they can continue.

Meanwhile they will work in the base for the conservatory at the back of the house.

More tomorrow.


Thursday, May 29, 2014

OOPS!!!!

Sorry to be AWOL for a couple of days. I managed to hurt my eye yesterday and it has made typing and looking at the screen a bit difficult.

I got a bit of grit in my left eye, and rubbed to get it out. Cue agony for several hours and a trip to Casualty. It turned out the grit had got stuck under my eyelid and has made a fine cut across my eye from the pupil to the outer corner. The nurse very gently got the grit out. I totally appreciate both the NHS and the wonders of eye anesthetic drops.

The surface of my eye hurts.

A lot

I have ointment to prevent infection. I have an eye pad. And the pain is only bearable if I keep my eye closed.

Given that I have a bit of a squint, from a childhood injury,  everything is swimming up and down as my right eye tries to compensate so I am getting seasick when I sit up.

Back soon, with lots of photos and progress on the building work..............................

Monday, May 26, 2014

Day 5: The Porch starts to go


You can now see the trench for the Summer Room, all ready for the concrete and foundations. But first they have to sort out the squished water mains pipe, which also needs sheathing in plastic to protect it form the concrete corroding it. Also the sewage pipe which goes to the septic tank is leaking and needs repairing/replacing too.


It begins!!!!!!


The porch itself will come down tomorrow. No pipes under it, thankfully.

Sunday, May 25, 2014

Actual Knitting!!!!


As the builders are having the day off, I thought I would show you my latest project. These are 12" blanket squares, the first two of possibly twenty, to make a blanket for my favourite (and only) Granddaughter. If I ever get it finished.


I am going with a lilac, mint, pink, blue theme at the moment. But this could change.....................I wont link to the pattern at the moment, until I decide how much more of the pattern to do, or whether to branch out on my own and do some designing.

Saturday, May 24, 2014

Building days 2 & 3: Dig, Dig, Dig


8 am, Friday morning, they broke out the concrete breaker and went for it : )

 then the mini digger came out to play again, and again…and again…….and filled the huge skip. Then they went home while the Skip Man Cometh to empty the skip and bring it back all ready for Saturday.

 8.15am Saturday morning they started to dig the trenches for the brickwork, and uncovering pipes and whatnot under the ground. Including 2 mysterious copper water pipes. No-one, not even the neighbours, knows what they are for, they dont seem to be still in use, so we will ignore them. I think they may have been the old pipes to the house before it was on mains water.
Meanwhile, the meter reader came from the Co-op to read my gas meter. I dont have a gas meter. This house has never been on mains gas. The co-op still havent got it right so I will move suppliers. Anyway, back to the building…..


and here we are, footing trenches, and the bits they carefully dug out with spades around the pipe to the septic tank. They are making very fast progress.

Friday, May 23, 2014

Re-building - Day 1


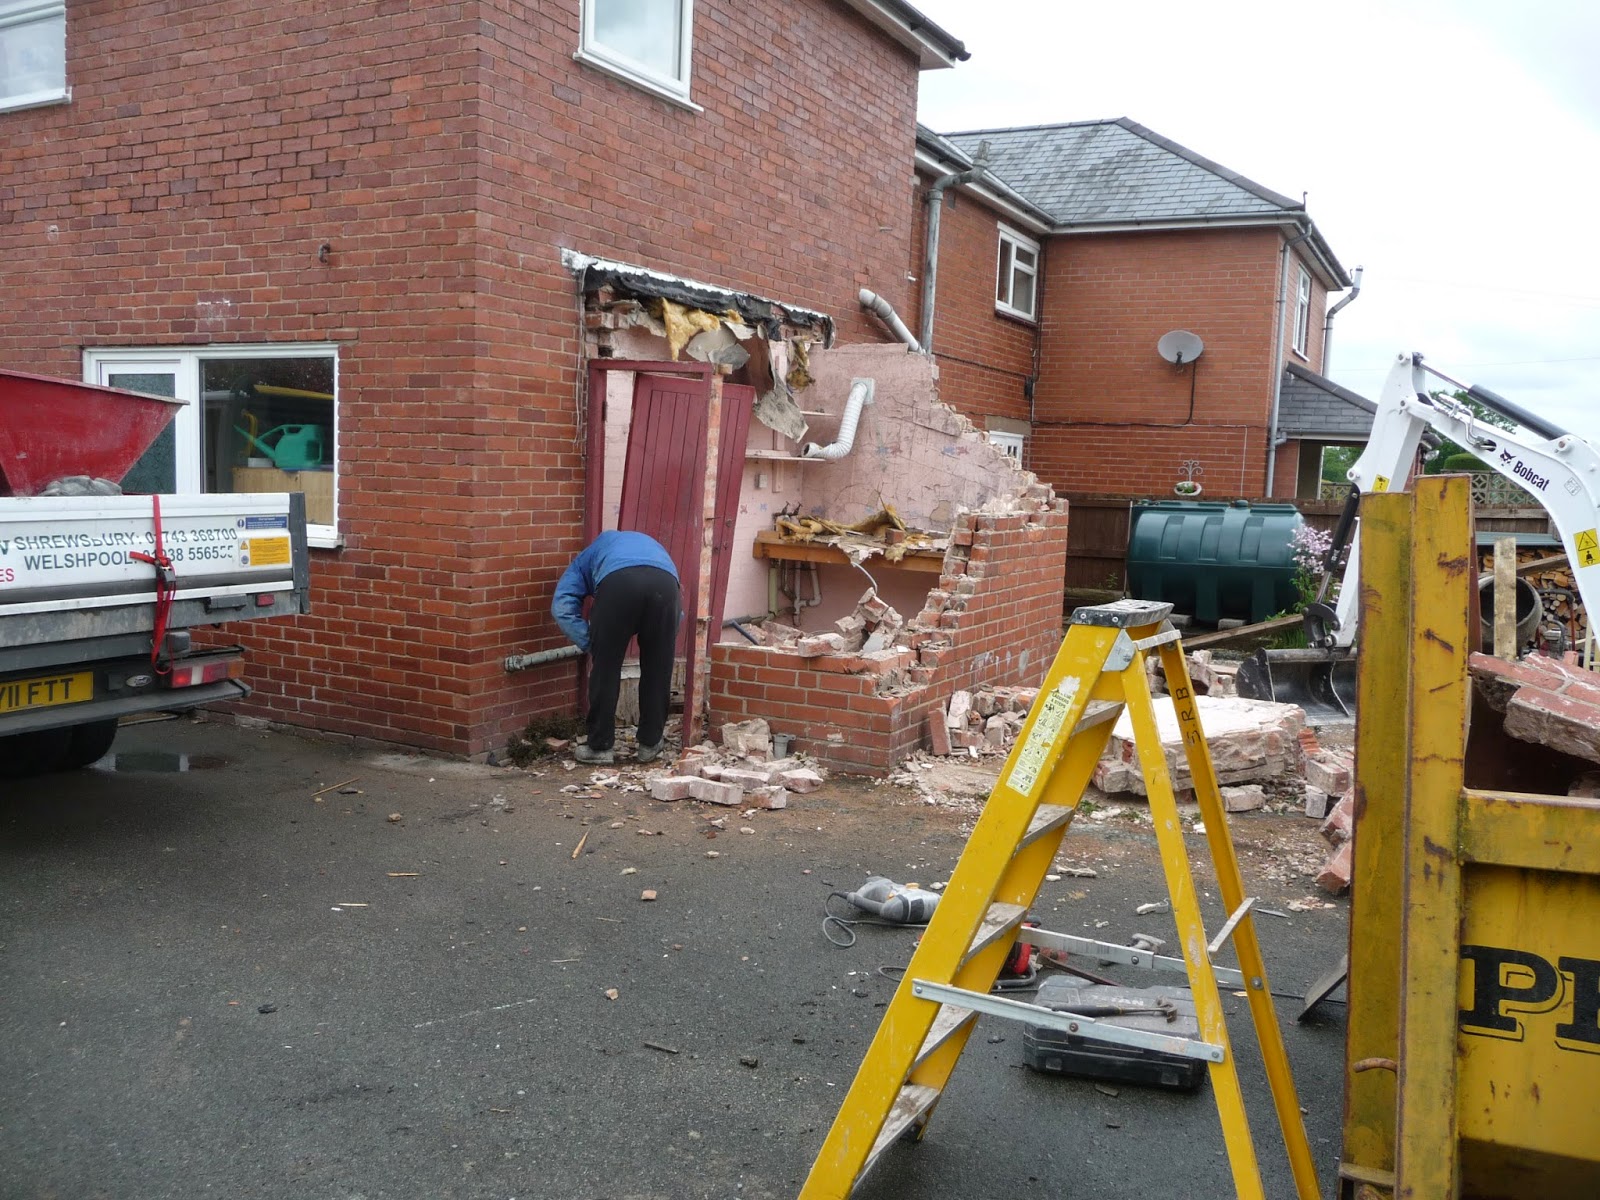
You start at the back of the house, with an old outhouse which is in the way


and get a couple of workmen to remove the roof…

 and then one of the guys fetches his mini digger and starts bashing the walls and scooping up the rubble into a huge skip…


while the other guy thumps the wall repeatedly with a sledgehammer…


continue doing this for 6 hours and………


Voila - an ex-outhouse!!!!! The double doors into our kitchen, through the soon-to-be-extension, are going where the painted wall bit is.
I cant believe we even entertained the idea of demolishing it ourselves.

Tuesday, May 20, 2014

Claire Glovelettes


You will need  5 x 2.5mm dpns or 2.5mm circular needle, 3 markers, 40g of sock yarn (approx. 160 meters for a pair)
To fit palm circumference of 8” or 20cms, measured above the thumb joint
Gauge: 28 sts x 32 rows in stocking stitch over 10cms x 10 cms
M1: pick up the bar between the worked stitch and next stitch, and knit into the back of it. This method avoids holes in the work.

1
Cuff:
Using a stretchy cast on, cast on 60 stitches and put 20 stitches on each dpn. If you like, place a marker after the first stitch so you know when the start of each round is. This also helps  line up the rib at the top of the mitten.
Rib pattern: K3, p2, repeat until end of round
Work 30 rounds in rib.

Thumb gusset of mitten:

Row 1: Knit 21, place marker, M1, place marker, knit to end of round
Row 2: knit
Row 3: knit 21, slip marker, M1, k1, M1, slip marker, knit to end of round
Row 4: knit
Row 5: knit 21, slip marker, M1, k3, M1, slip marker, knit to end of round
Row 6: knit
Row 7: knit 21, slip marker, M1, k5, M1, slip marker, k1. Place the remaining stitches on another dpn to accommodate the increasing thumb gusset stitches, knit to end.

Continue in this way, on 4 needles, until there are 23 stitches between the markers. 24 rounds should have been completed.

Body of Mitten:

Row 25: knit 21 sts, remove marker, place 23 stitches between the markers on a piece of contrasting yarn, remove marker, knit to end. There should be 60 stitches now, which can be put back onto 3 dpns again.

Knit 10 further rows (35 rows from end of rib)

Then work 10 rows in the rib pattern as before. Cast off in rib, picking up the two loops of the first stitch cast off, to cast off the last stitch. This avoids a hole in the last cast off stitch. Break yarn.

Thumb:

Re-join the yarn at the base of the thumb, leaving a tail of about 10” for closing any holes formed when picking up 2 stitches.

Pick up 10 stitches from the contrasting yarn onto the 1st dpn, then 5 stitches onto the 2nd dpn, then the remaining 8 stitches onto the 3rd dpn, pick up two stitches from the gap at the base of the thumb, making 10 sts on the 3rd dpn. Work 6 rows k3,p2 rib. Cast off using the method stated on the mitten body section.
Sew in ends.


2